Inserting components from the library into the schematic
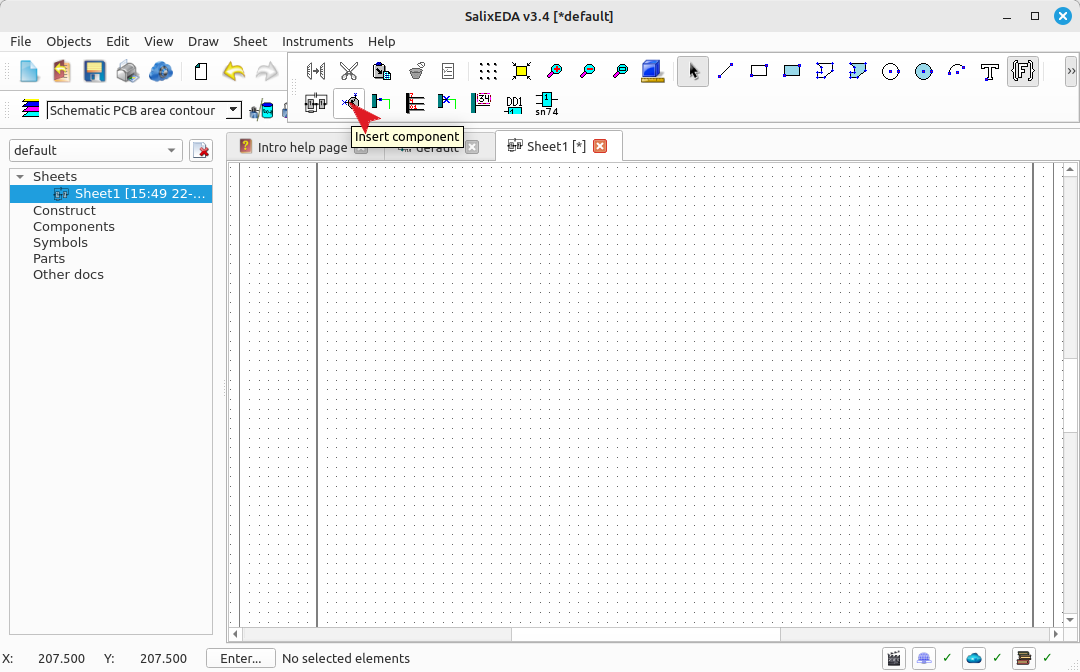
Enabling component insertion mode
To enable component insertion mode, click this button.
Searching for a component in the database
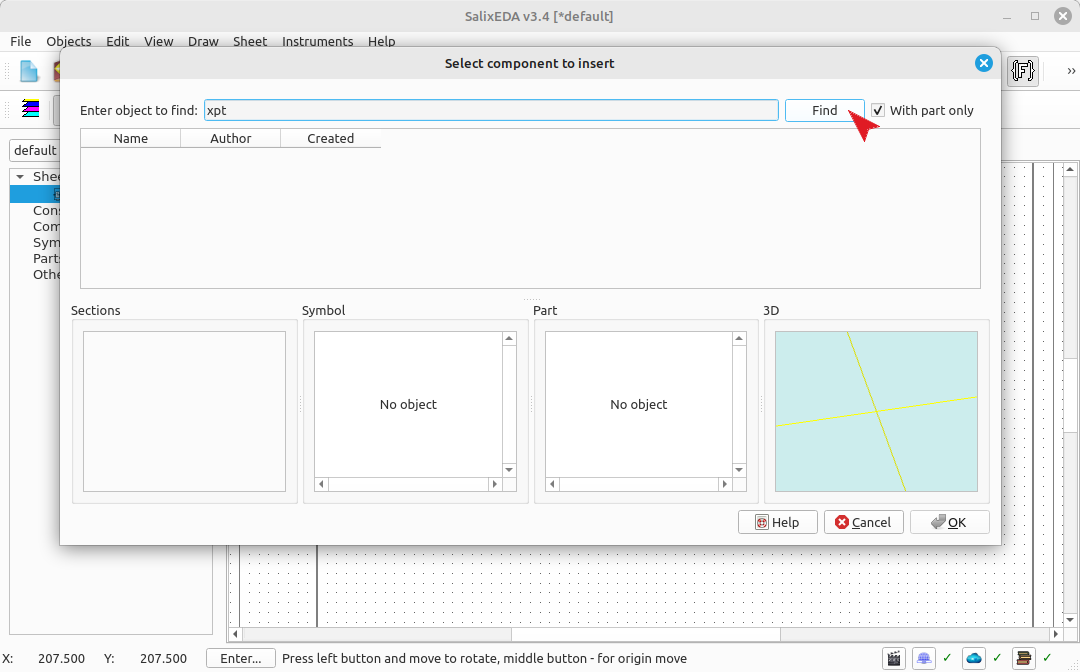
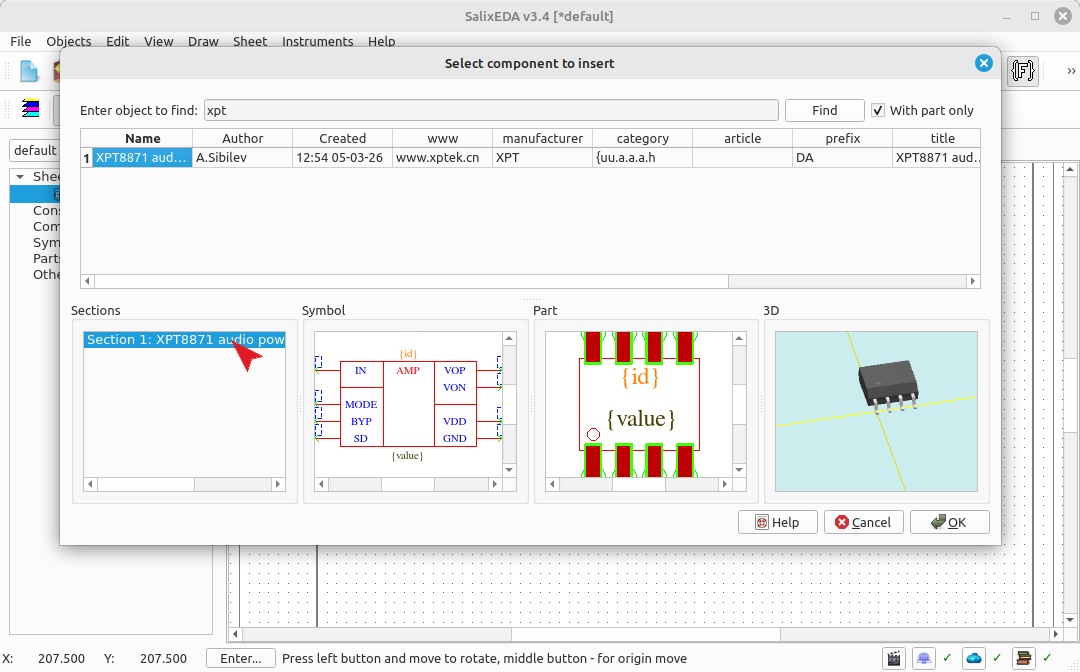
A dialog box for searching components in the library appears. In the object search field, enter "xpt" and click the Find button.
A list of components matching the search string appears. Select the XPT8871 chip from this list.
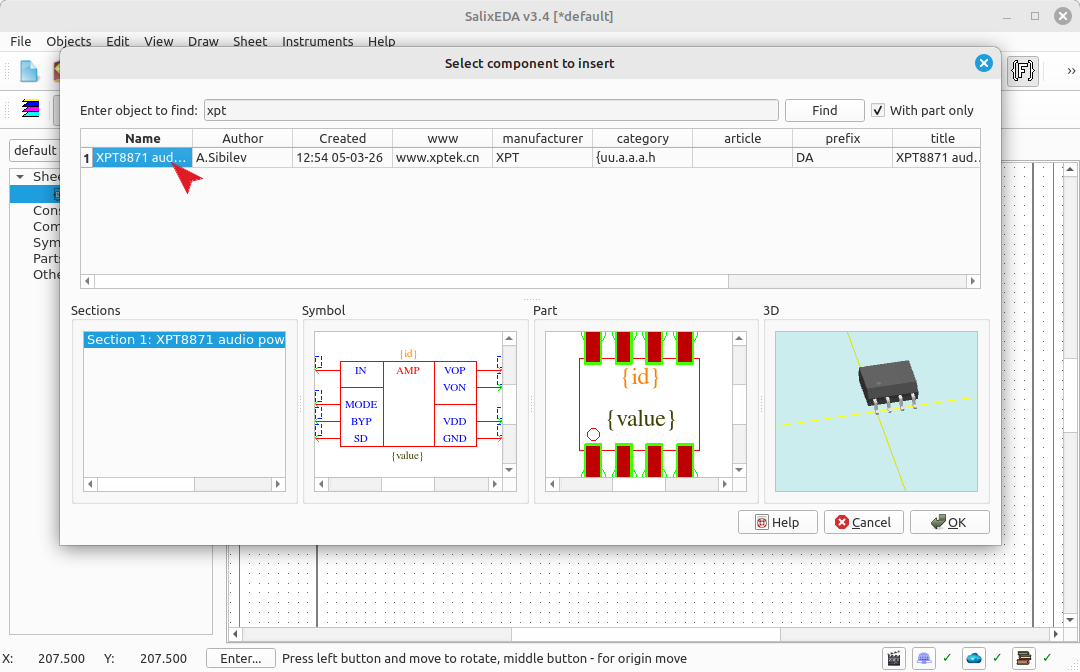
A preview for the selected component will appear at the bottom of the search window: its list of sections, and the image of the current section will be shown in the Symbol window. In the Package window, a graphical image of the component's package will be shown. In the 3D window - a three-dimensional image of the component's package.
Selecting a component section from the section list
Select the desired section from the list of available component sections. If the component has one section, it is selected automatically.
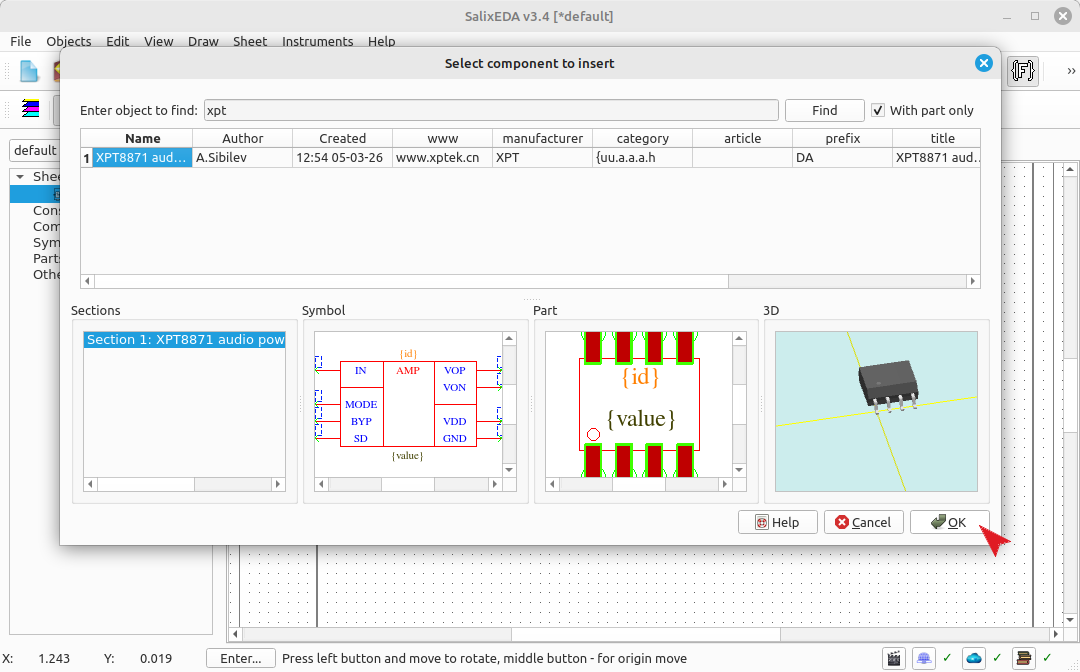
Click OK to insert the selected section of the selected component into the schematic.
Setting the component position on the schematic
Move the mouse across the schematic sheet area. The component will move with the mouse.
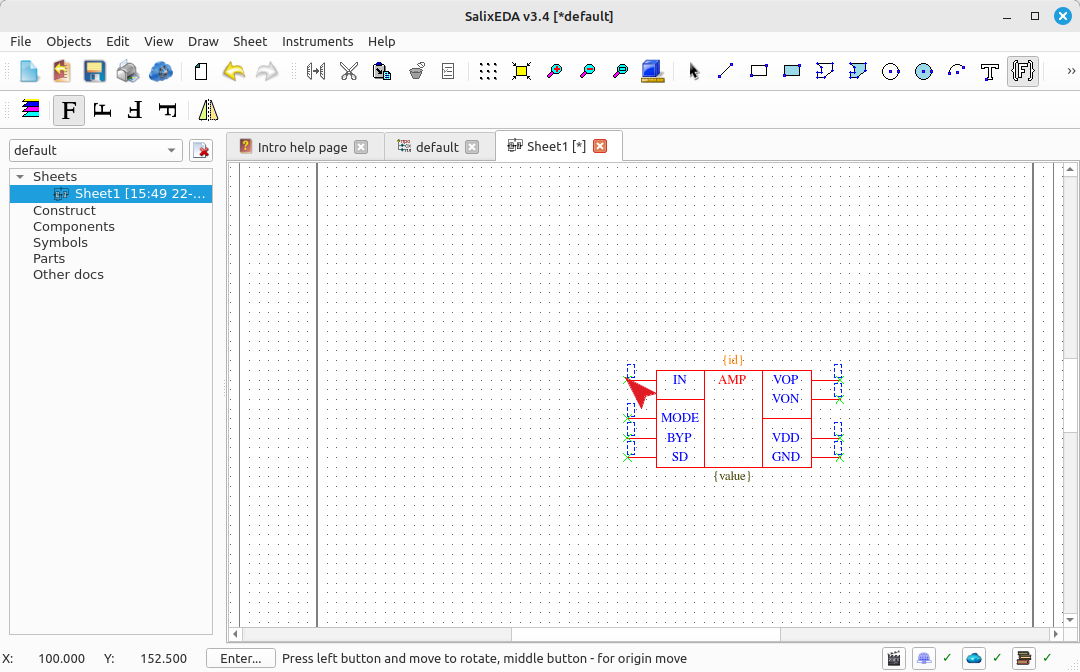
When you determine the desired component position, press the left mouse button. The component is inserted into the schematic and you can determine the position for the next instance of the component.
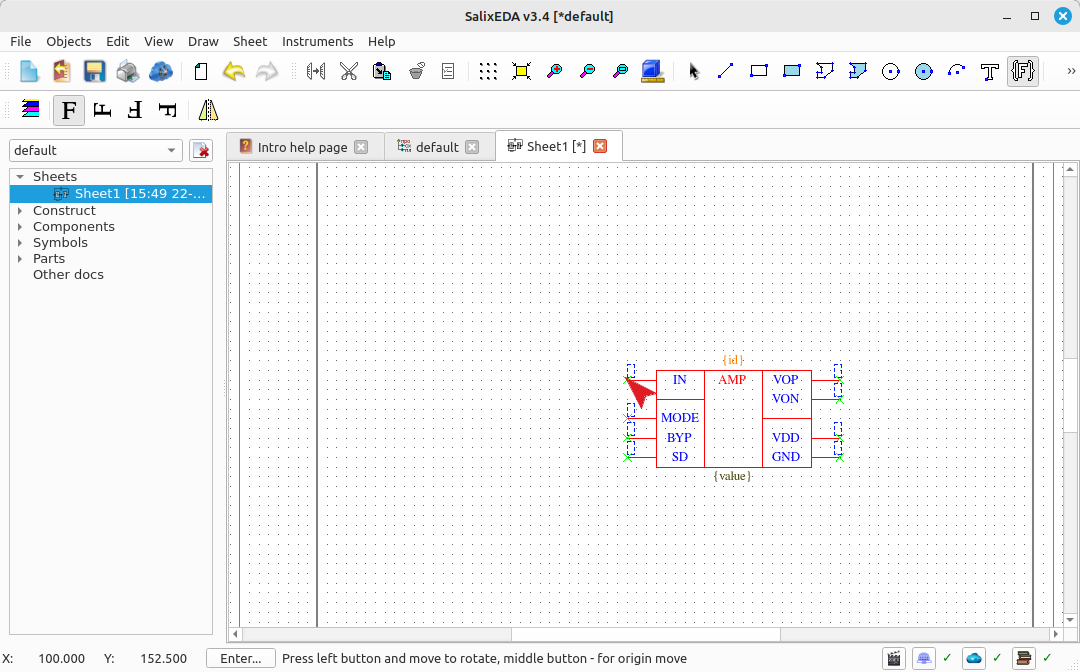
Press the right mouse button to stop inserting the current component and switch to the ability to select another component.
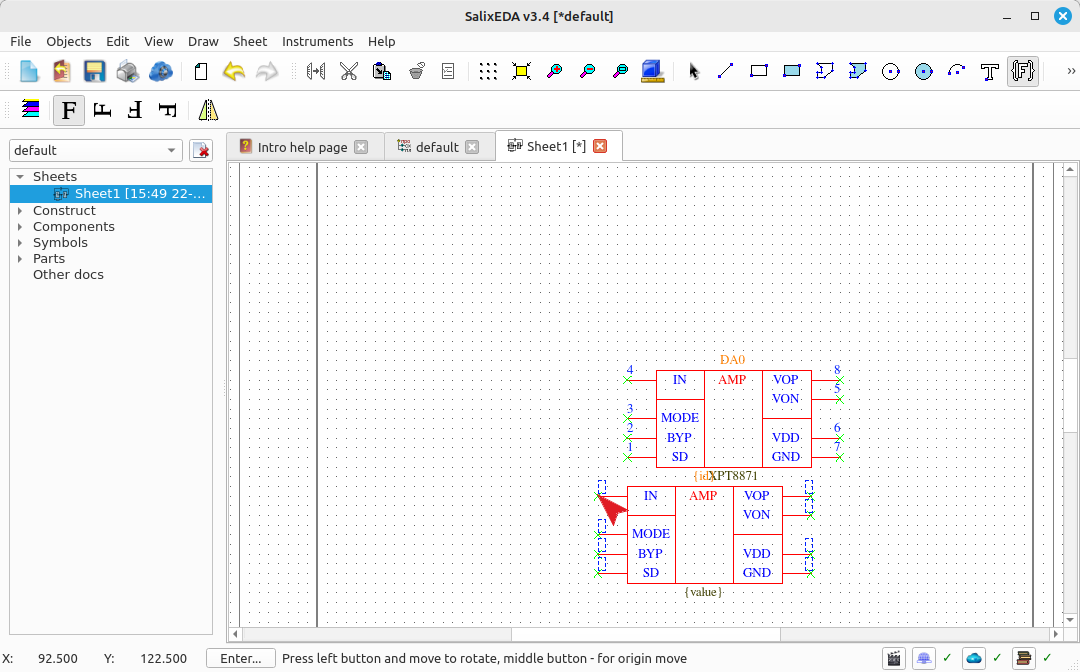
Searching for and inserting a capacitor
In the component search field, enter "0603 1uf". This query means that all components that have both 0603 and 1uf in their name or parameters will be found.
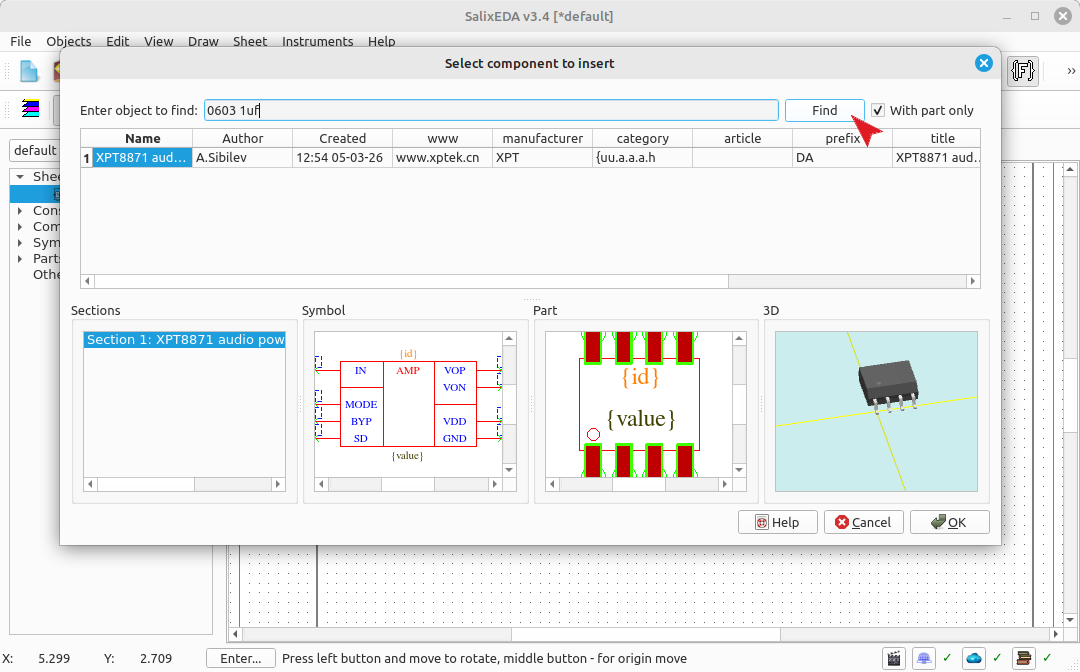
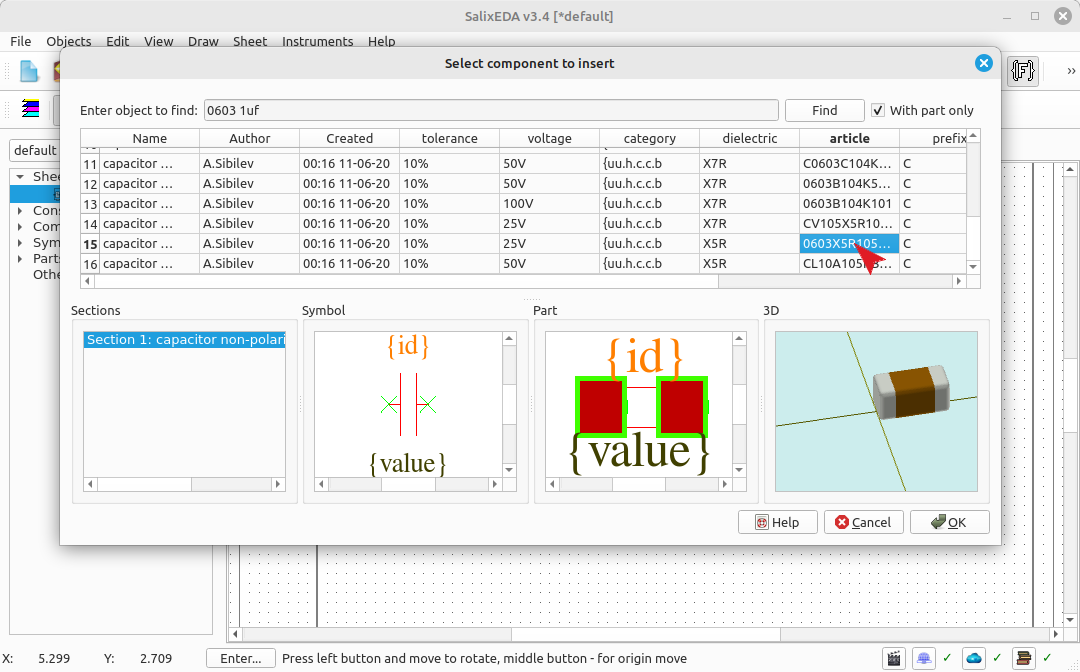
A large list will appear, which will contain capacitors with capacitance 0.1uf, 0.01uf and 1uf. This is normal and happens because the search is performed by part of the name or parameter. Keep this in mind when specifying the search pattern. Find the capacitor with exactly 1uf capacitance in the list and click on it with the left mouse button.
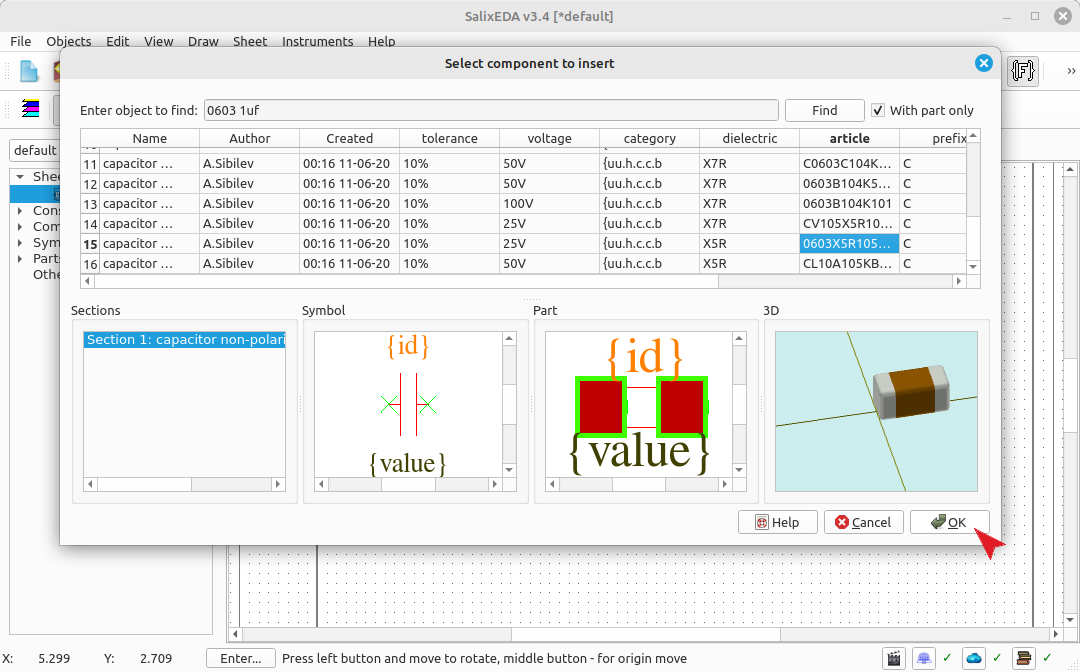
Click OK to insert the capacitor into the schematic.
Determining capacitor placement
Move the mouse to determine the desired capacitor position. Press the left mouse button to insert the capacitor into the schematic.
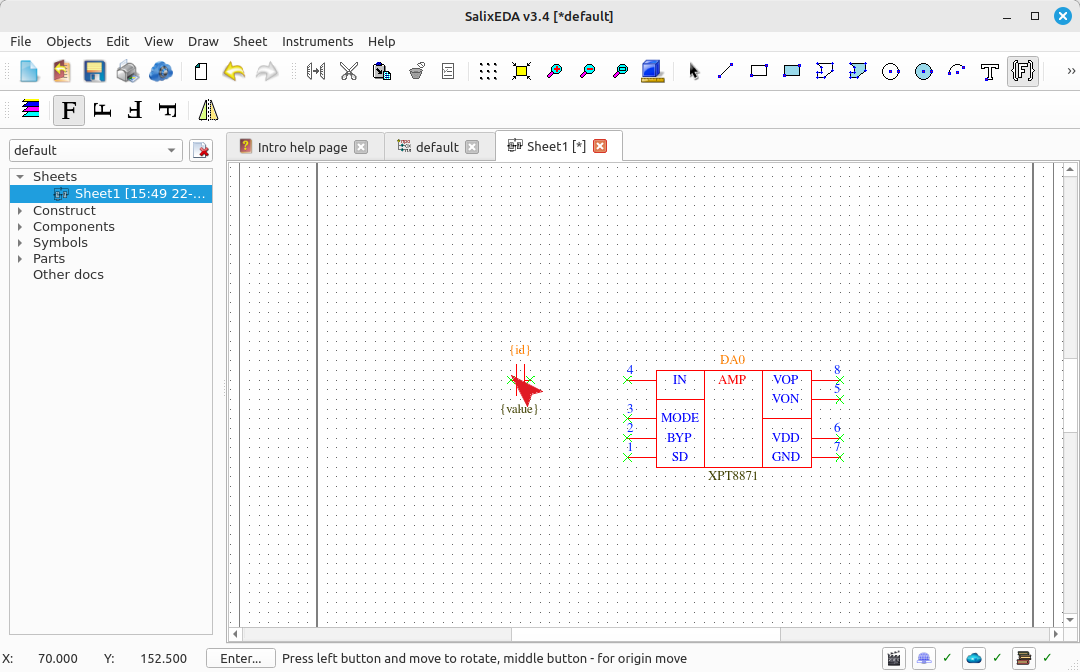
Component orientation
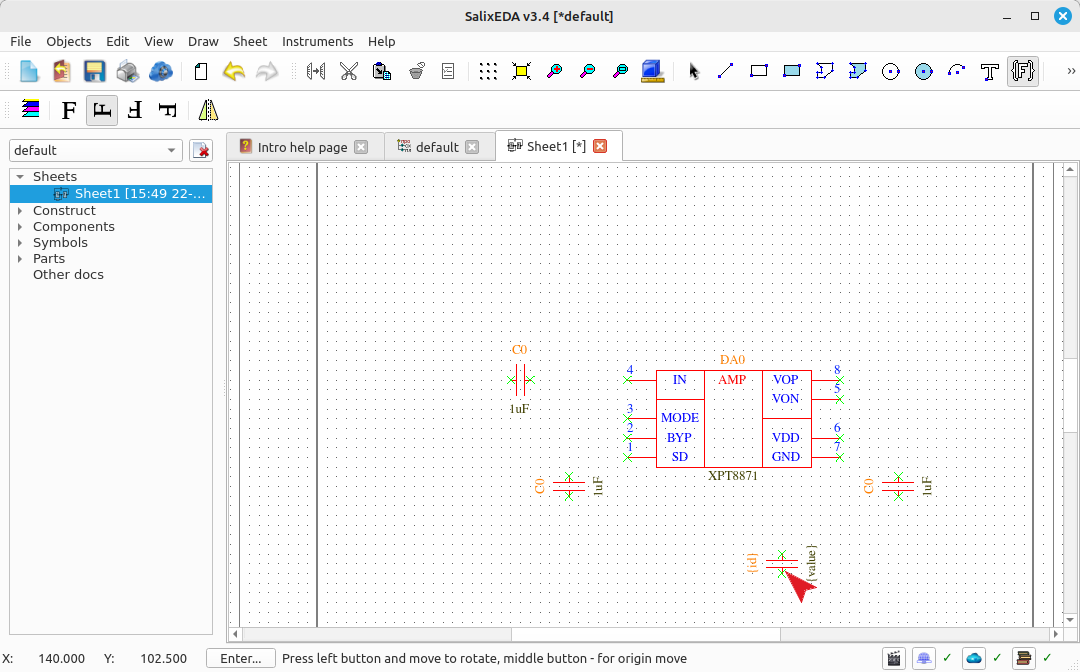
You can insert several instances of the same component. In this case, the base orientation of the component does not match the desired one. Change the component orientation using the orientation buttons.
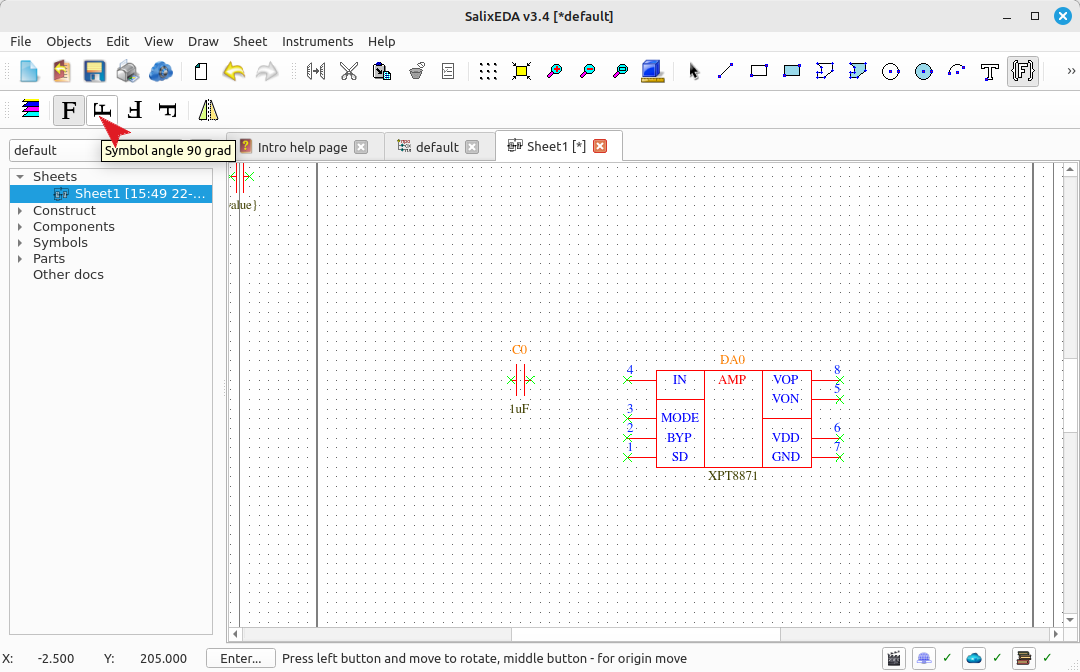
Determine the location for the capacitor and press the left mouse button.
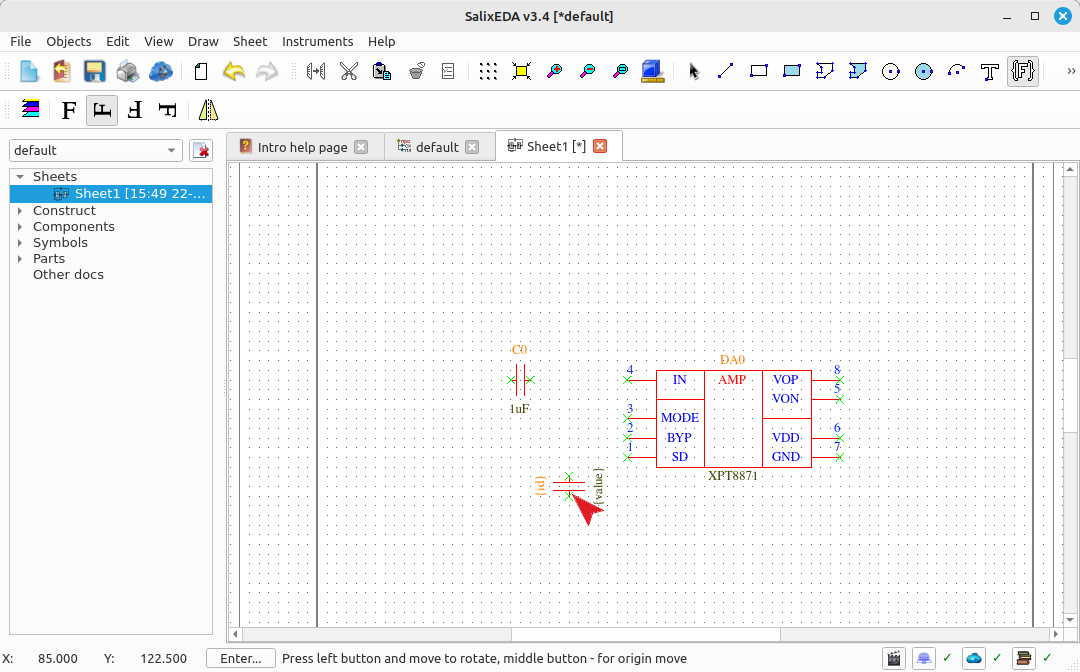
Determine the location for the third instance of the capacitor and press the left mouse button.
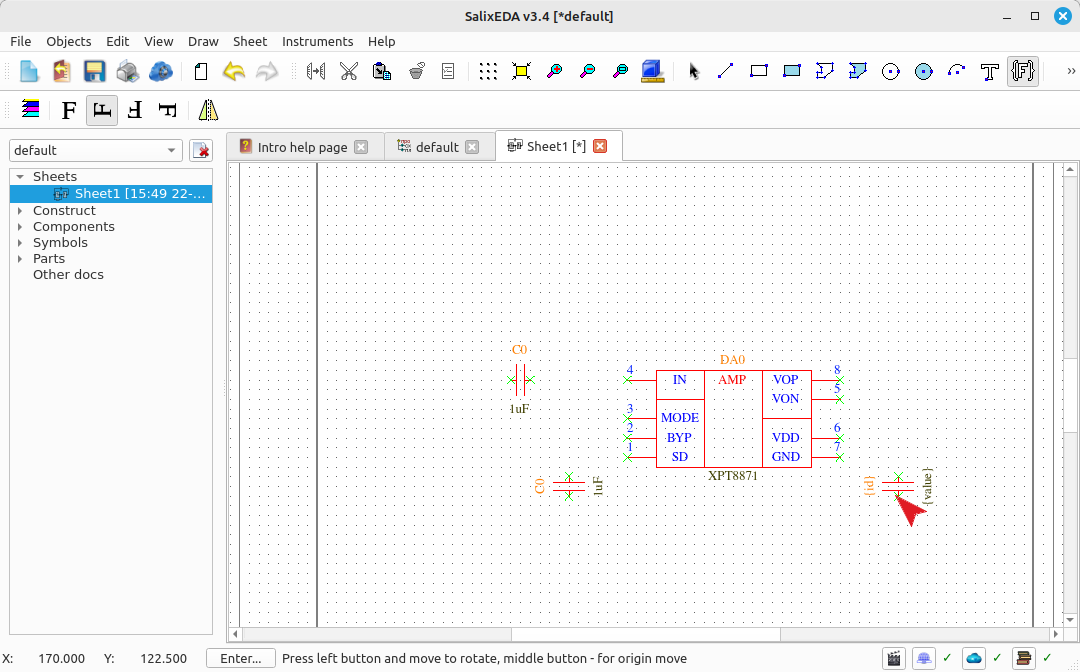
All instances of the 1uf capacitor have been inserted. Press the right mouse button to return to component selection.
Searching for and inserting a resistor
In the search field, enter "0603 1k" and click the Search button.
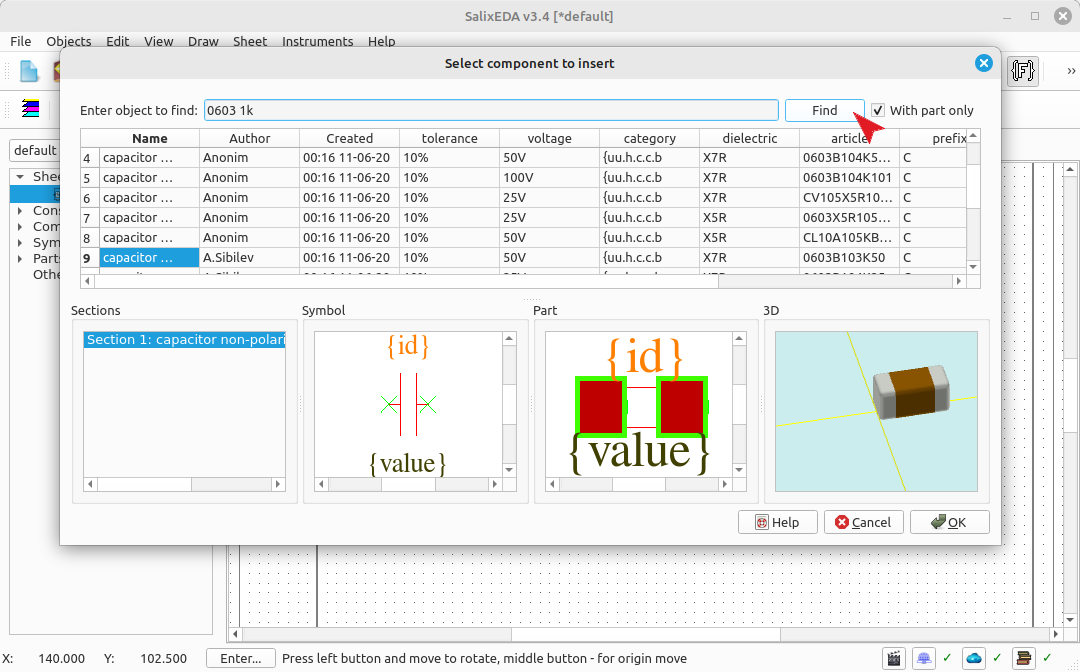
Among all found resistors, select the resistor with 1kOhm rating.
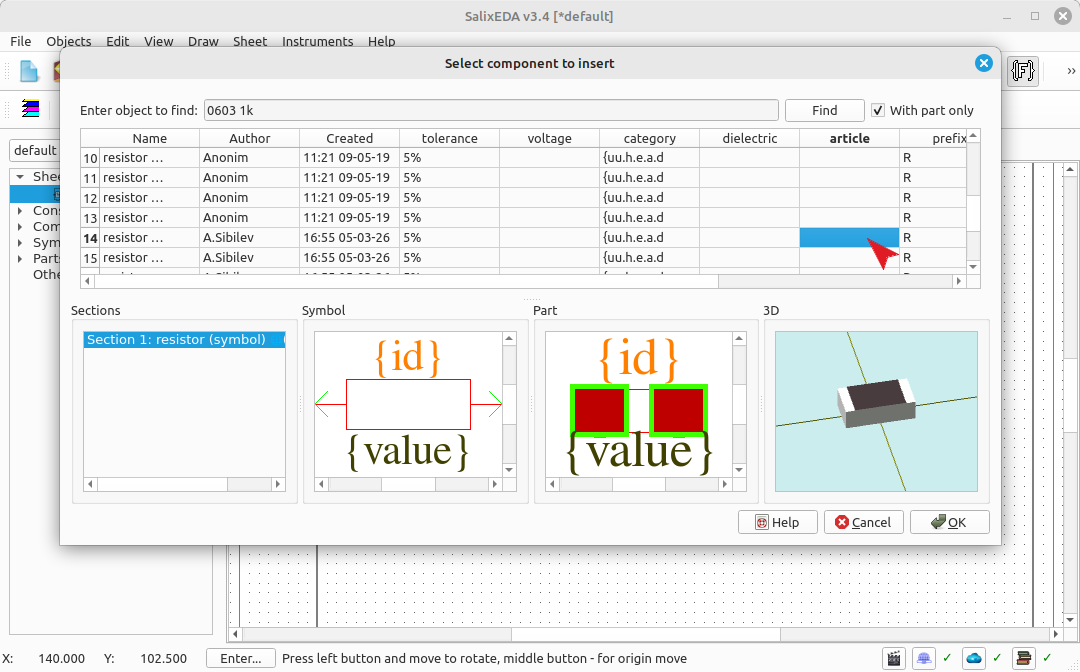
And click OK to place and insert.
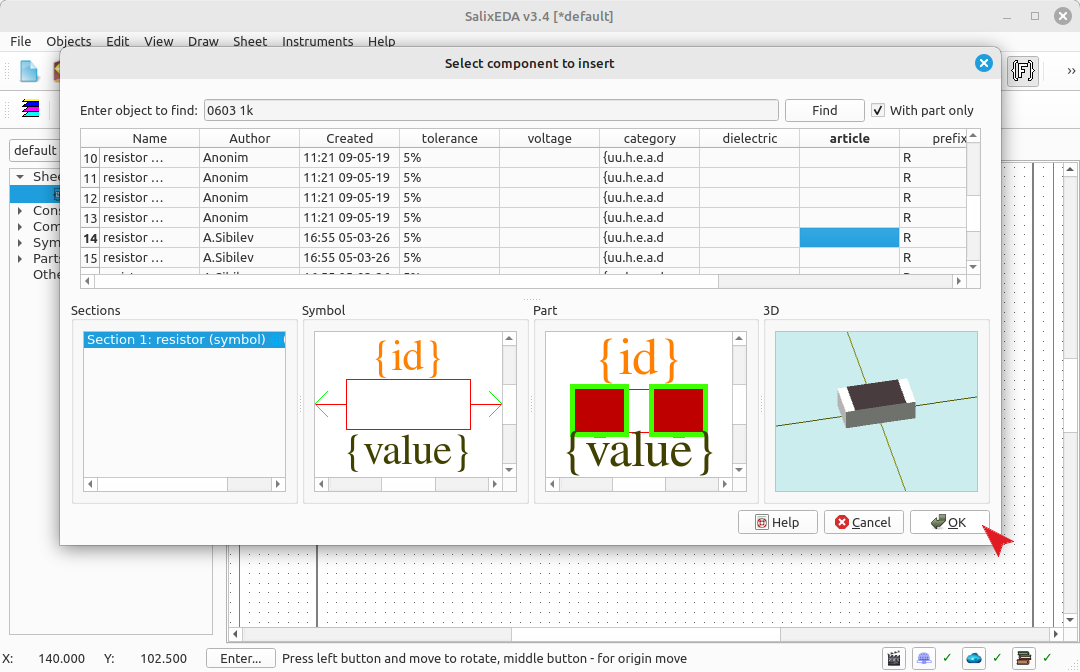
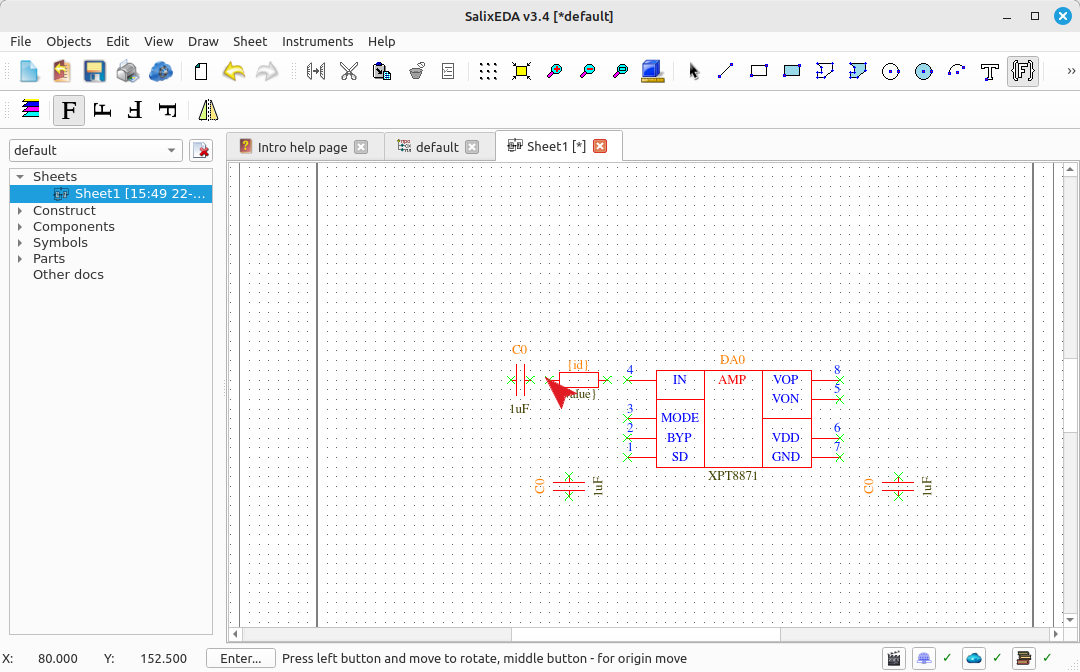
The orientation for the resistor remained from the previous component. It is incorrect. Change the orientation to the correct one.
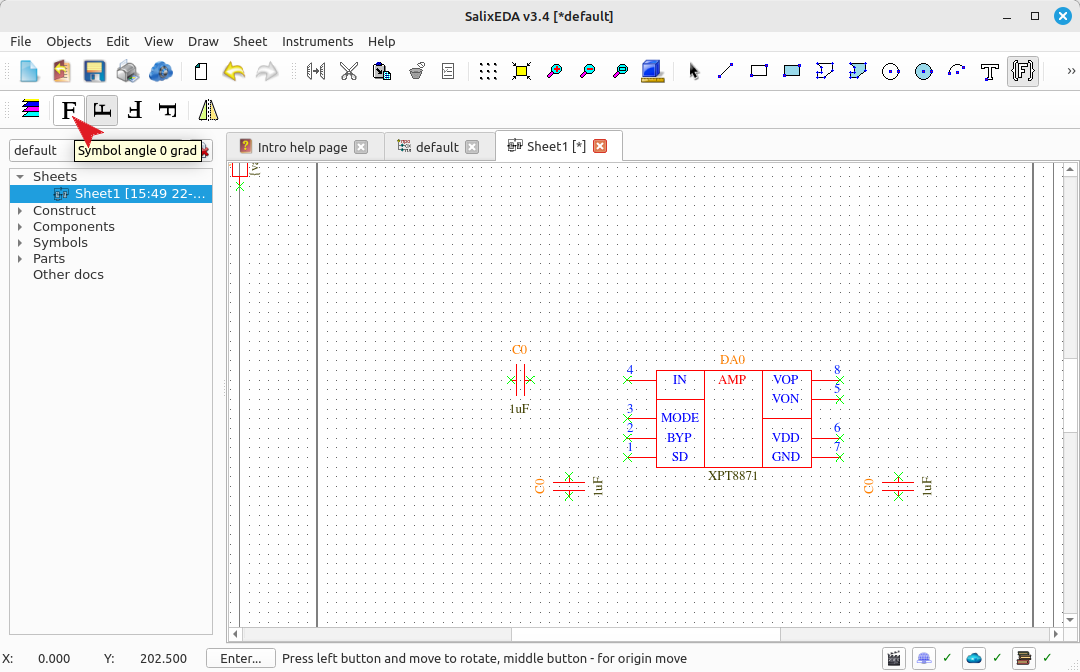
Specify the location for the resistor and press the left mouse button. Since only one resistor with this rating is needed, then press the right mouse button to switch to searching for another rating.
Searching for and inserting a resistor with 4.7kOhm rating
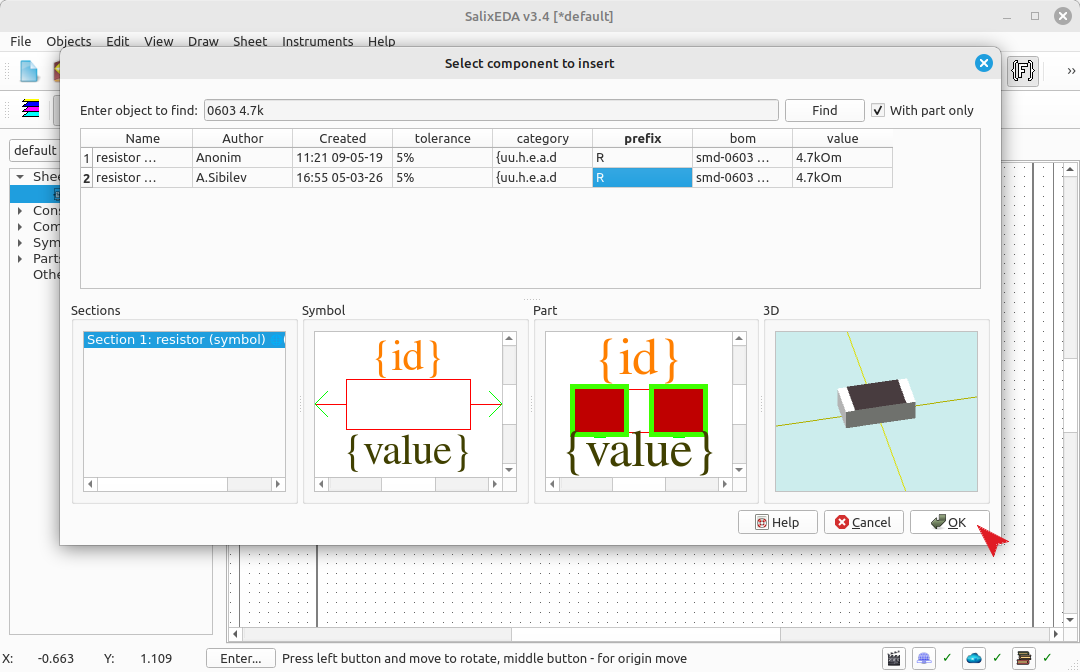
In the search field, enter "0603 4.7k" and click Find.
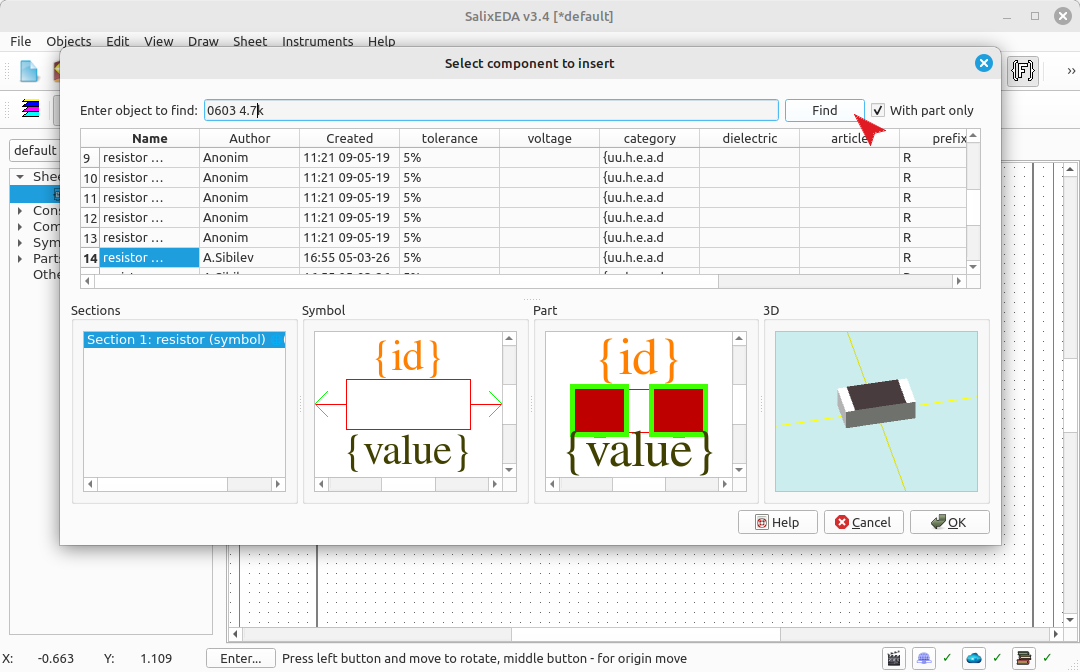
In the list of found resistors, select the resistor with 4.7kOhm rating.
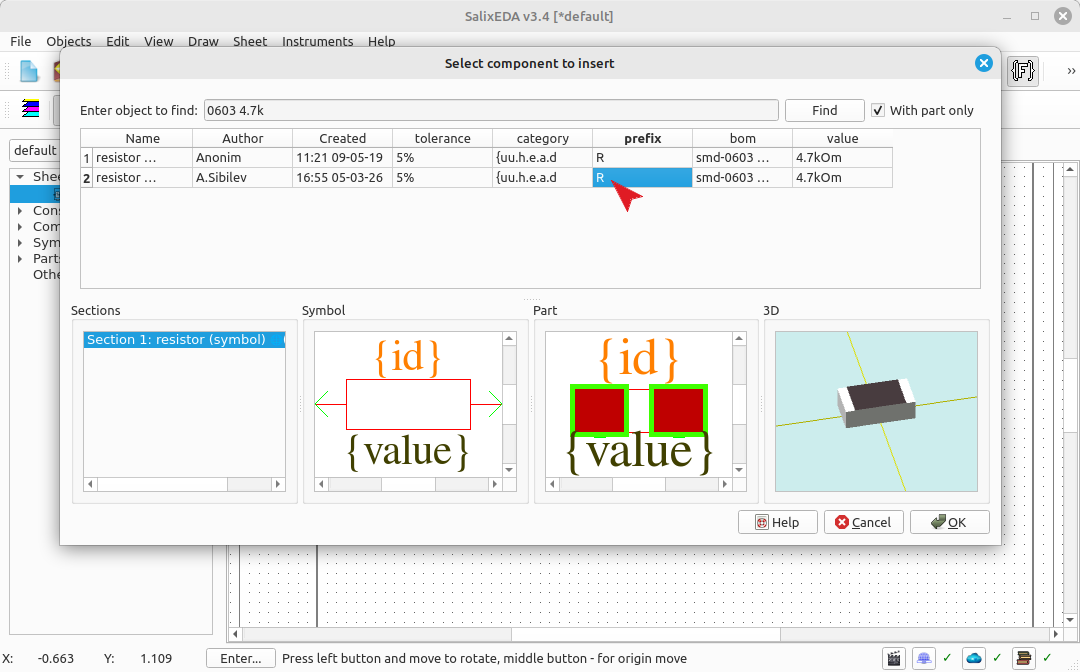
Click OK to place the resistor in the schematic.
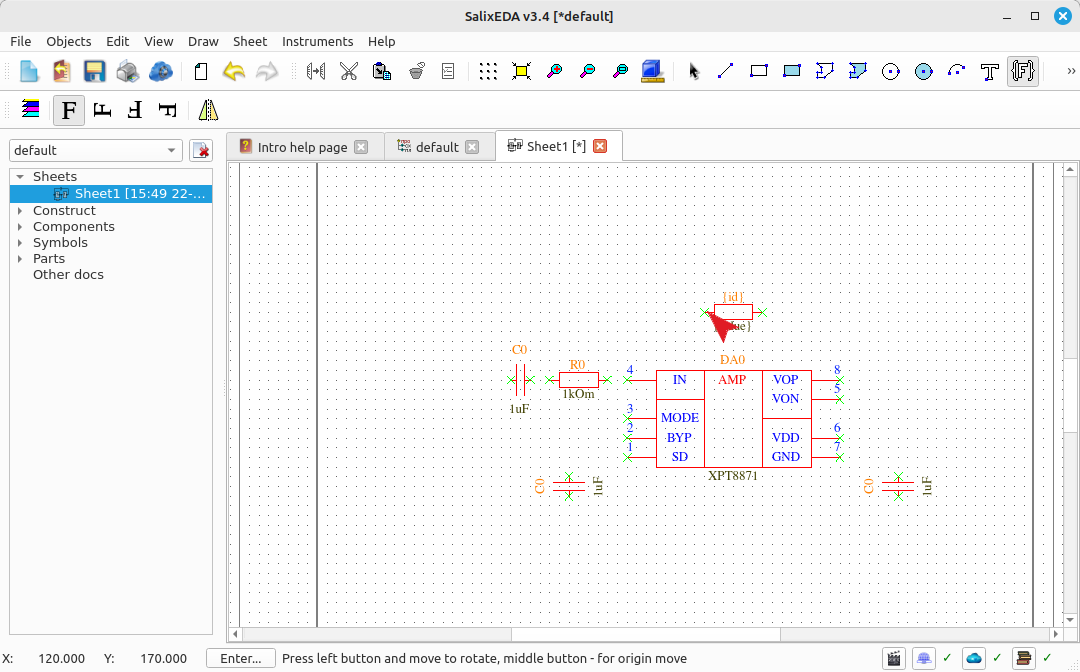
Move the mouse to indicate the resistor's location on the schematic. Press the left mouse button to insert the resistor into the schematic.
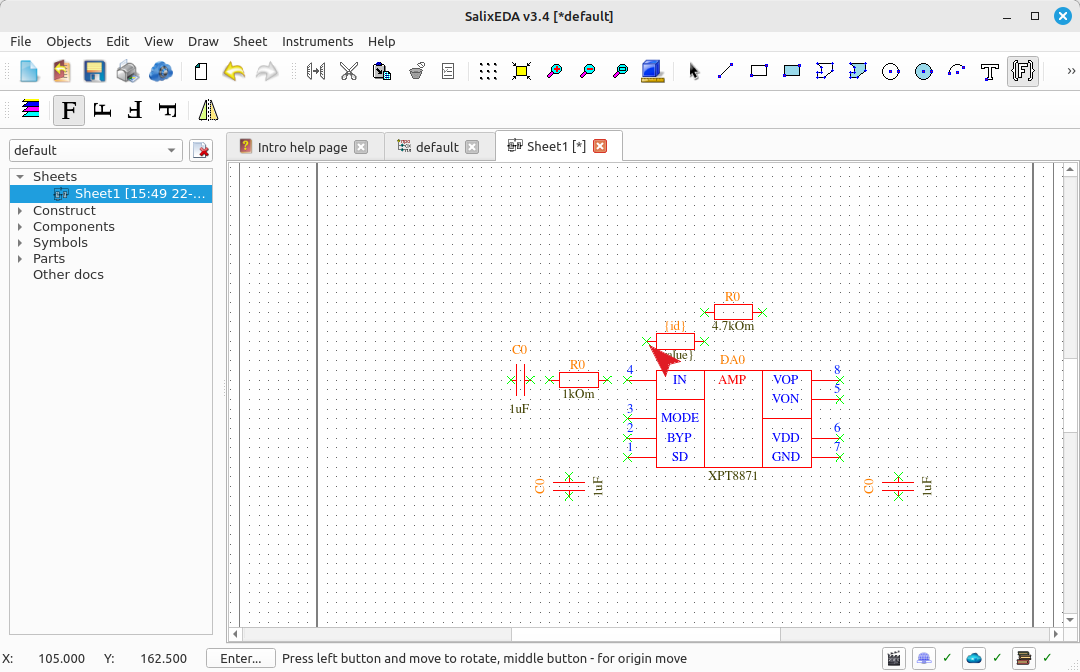
Press the right mouse button to return to searching for the next component.
Searching for and inserting a connector
In the component search field, enter "pls3" and click Find.
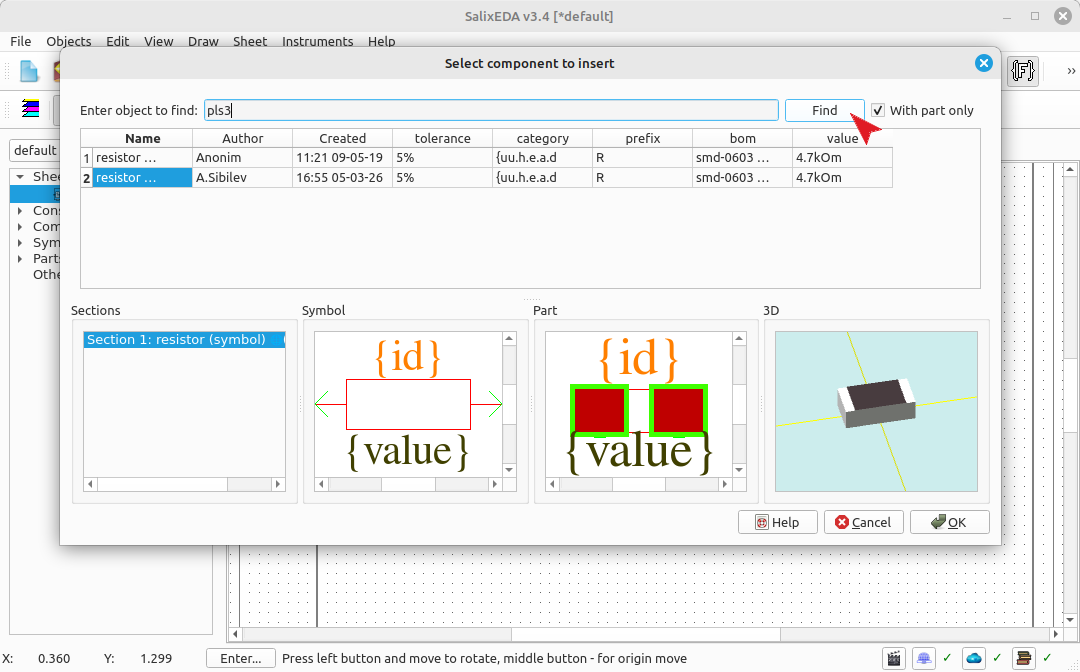
In the appearing list of suitable connectors, select connector pls3
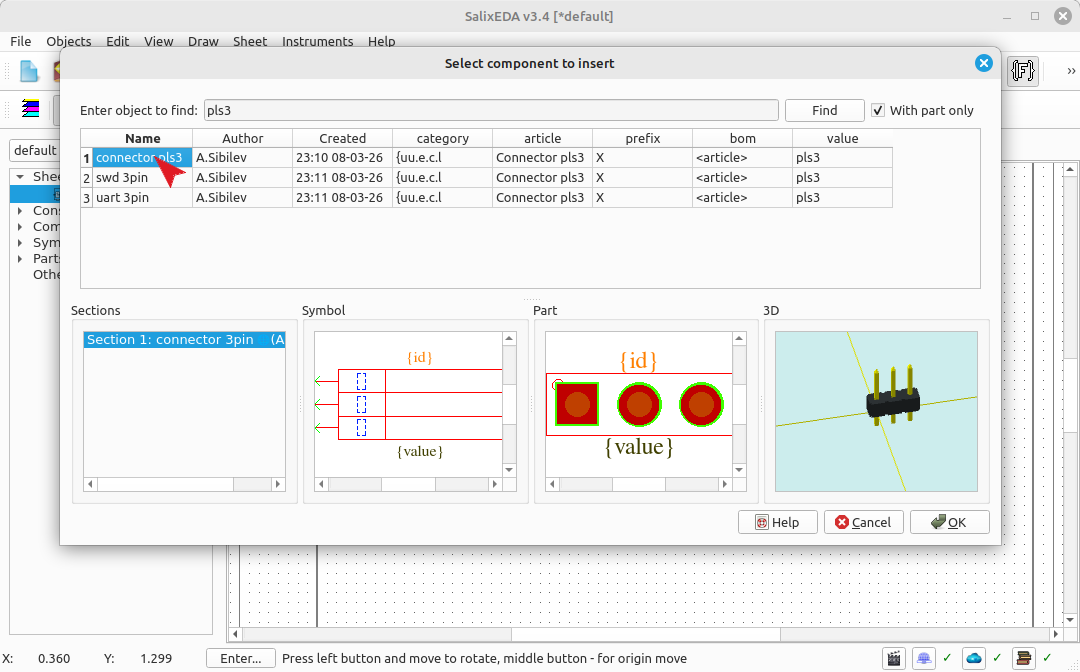
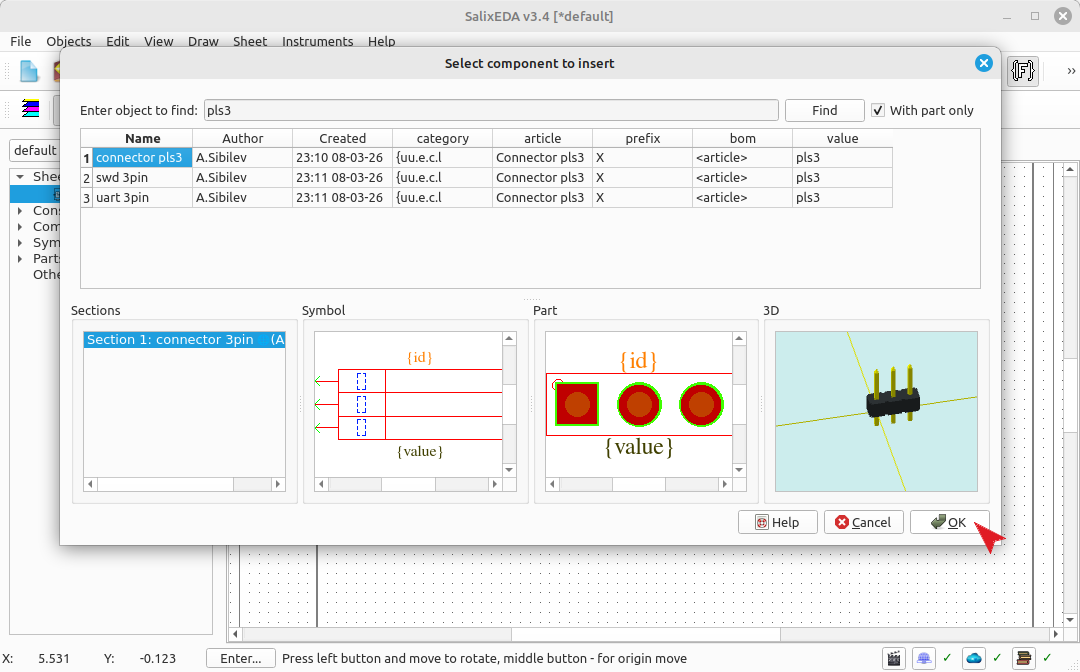
To insert the component into the schematic, click OK
Component mirroring
The base image of the connector is not suitable - the connector has the wrong direction.
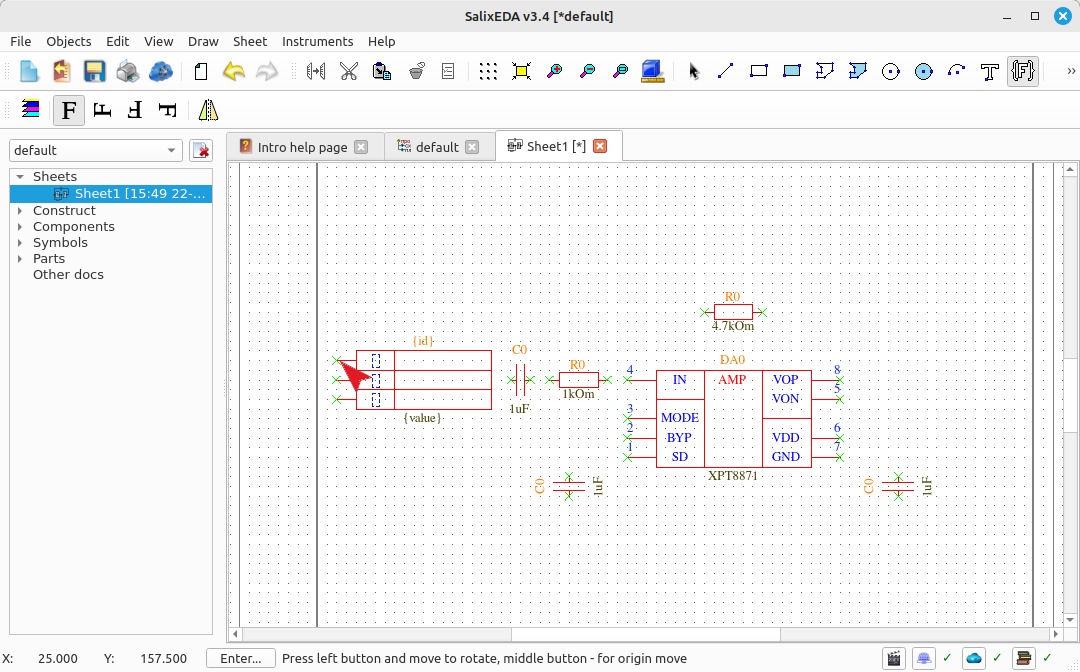
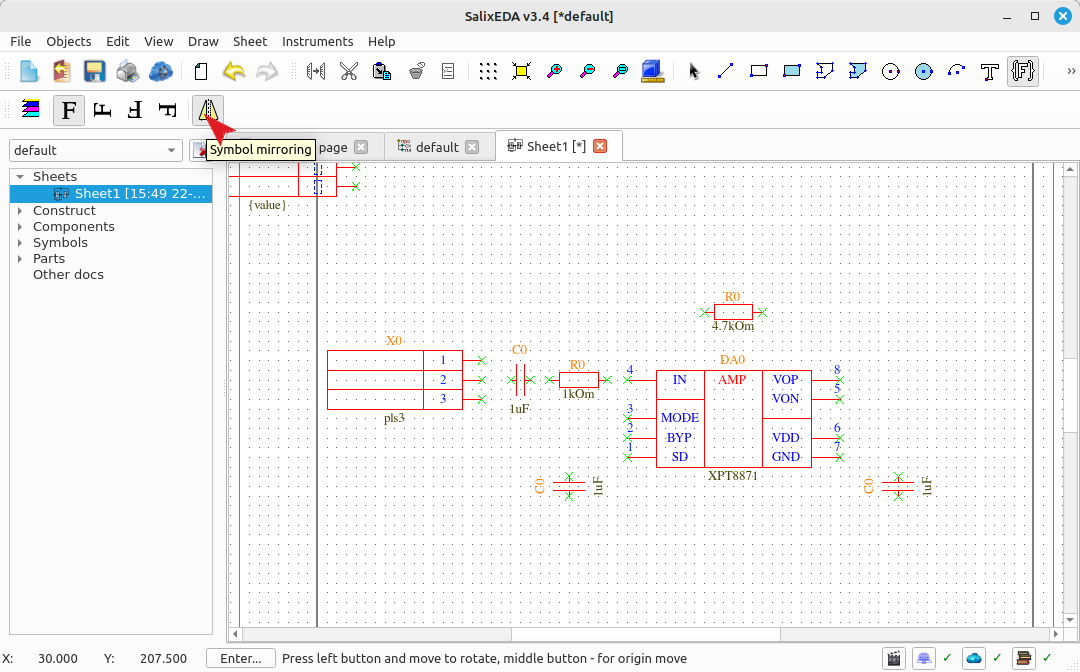
This cannot be fixed with orientation (the connector will be upside down). This requires mirroring the component. Change the component mirroring with this button.
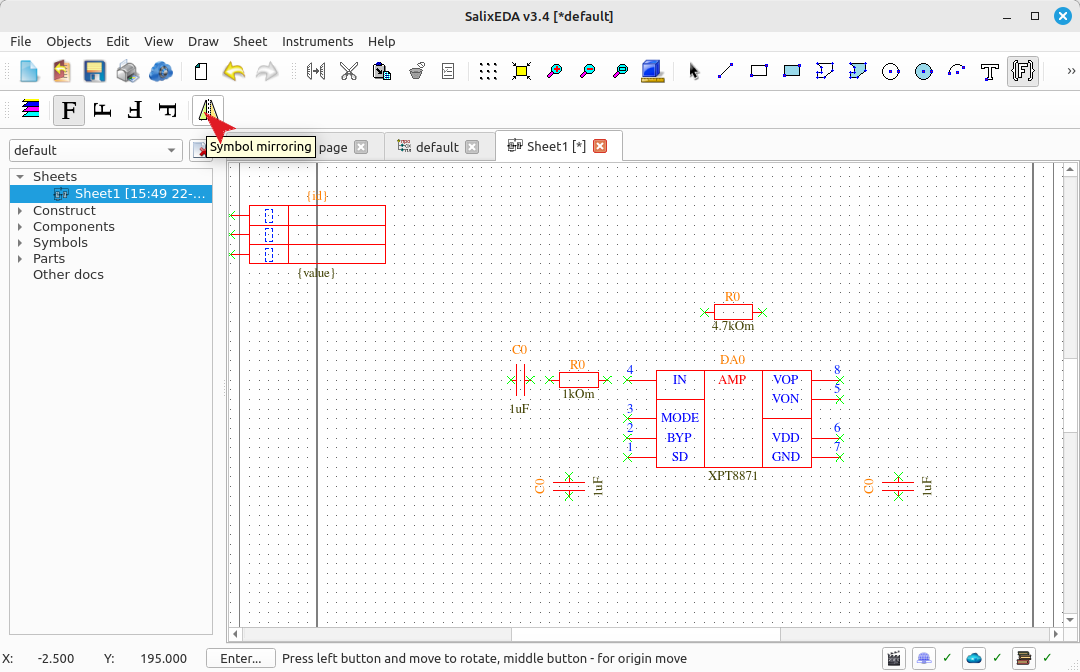
Specify the connector location on the schematic and press the left mouse button.
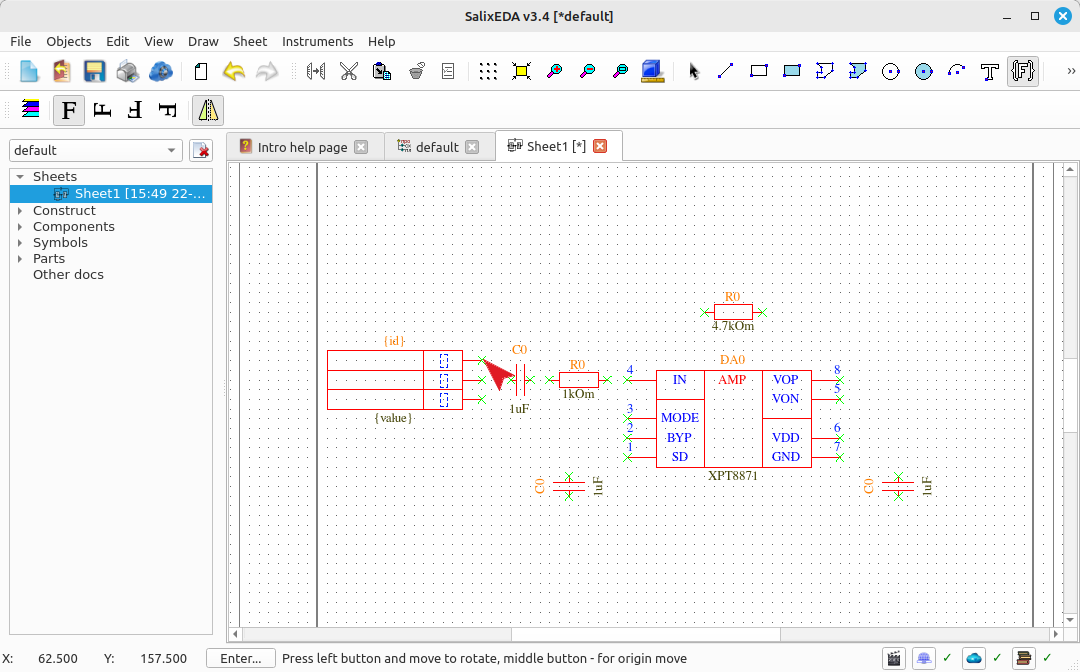
Press the right mouse button to return to component search.
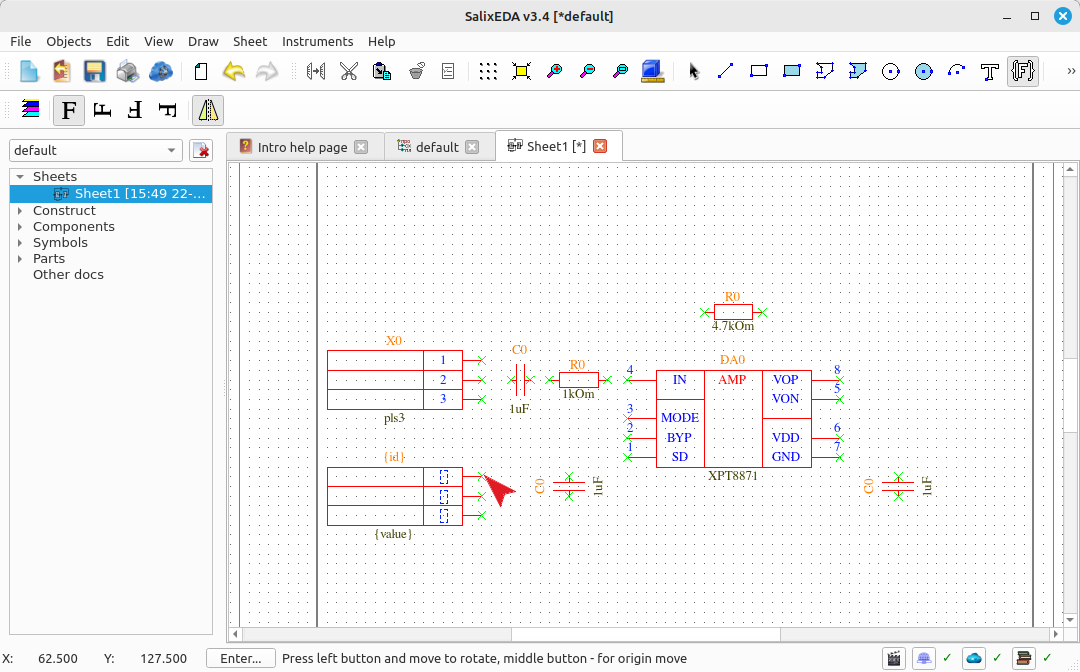
Searching for and inserting pls2 connector
In the component search field, enter "pls2" and click the Find button.
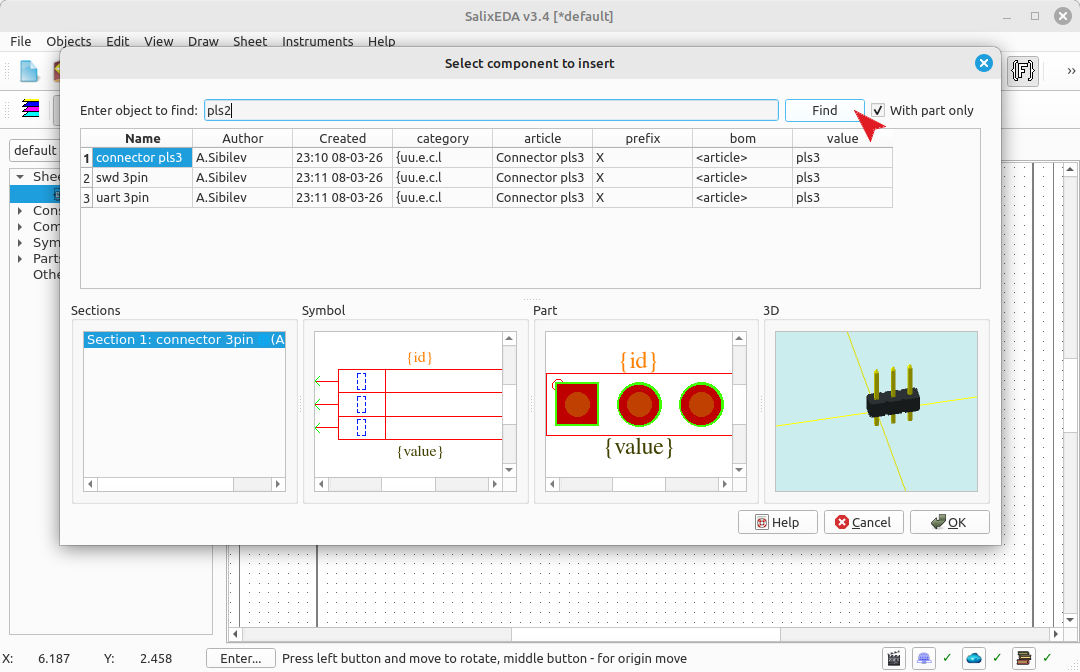
In the appearing list of suitable connectors, select connector pls2
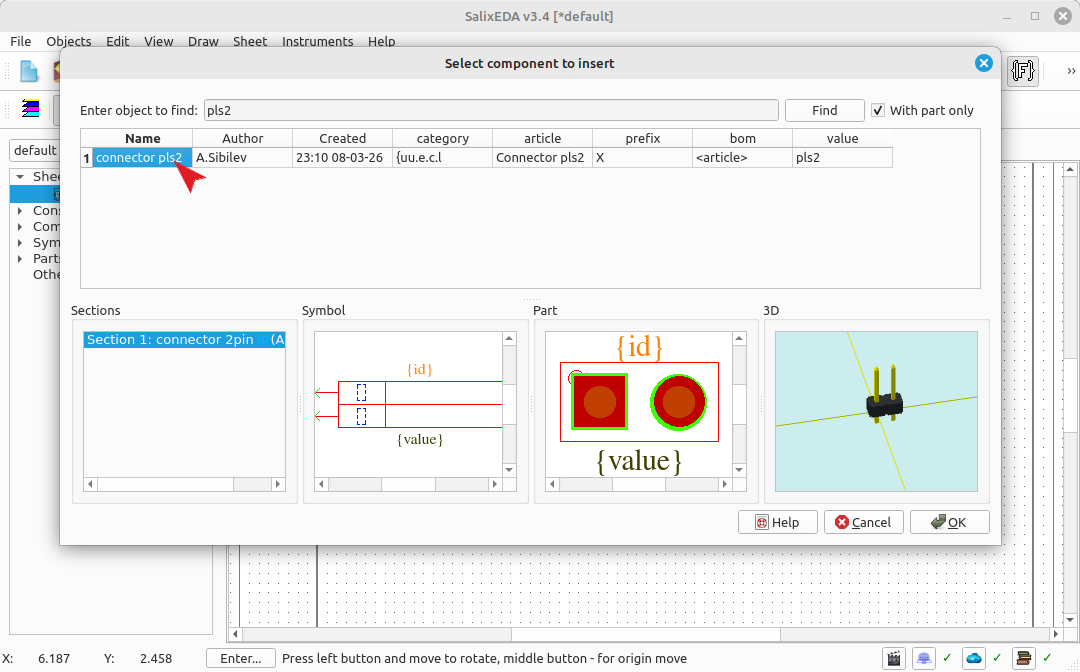
To insert the component into the schematic, click OK
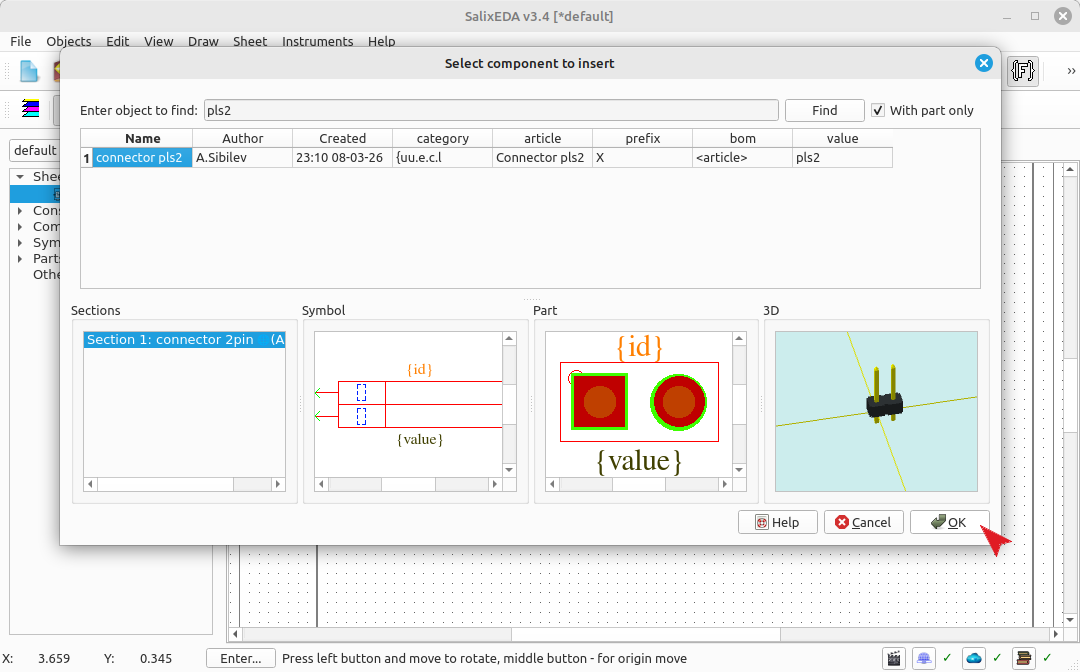
The mirroring of this component remained from the previous one.
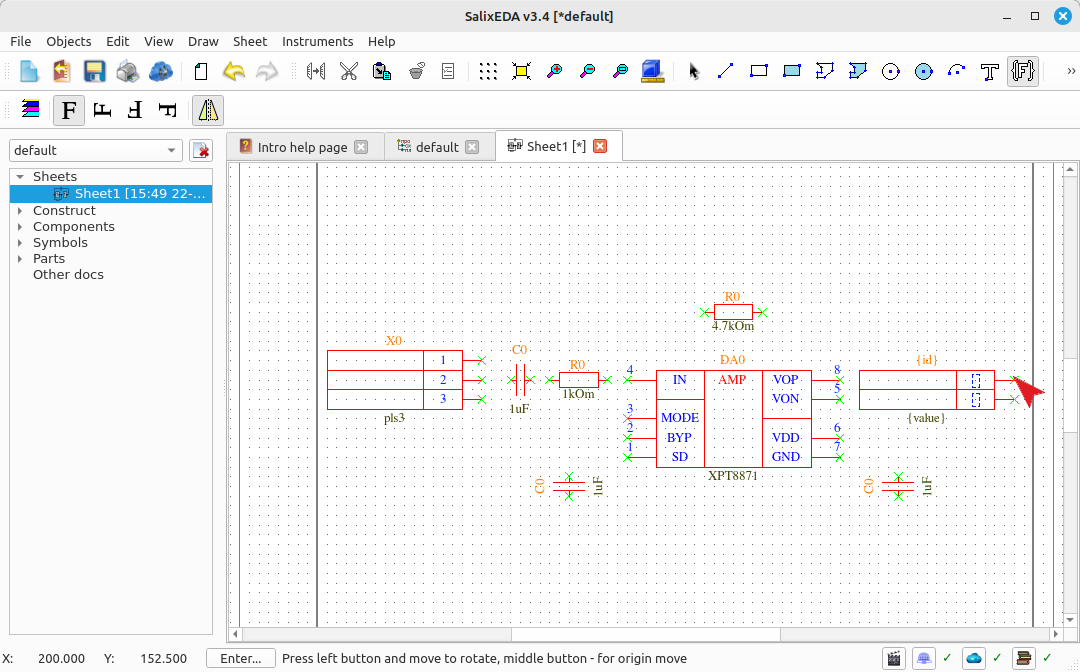
Mirroring is no longer needed for this connector, so disable it.
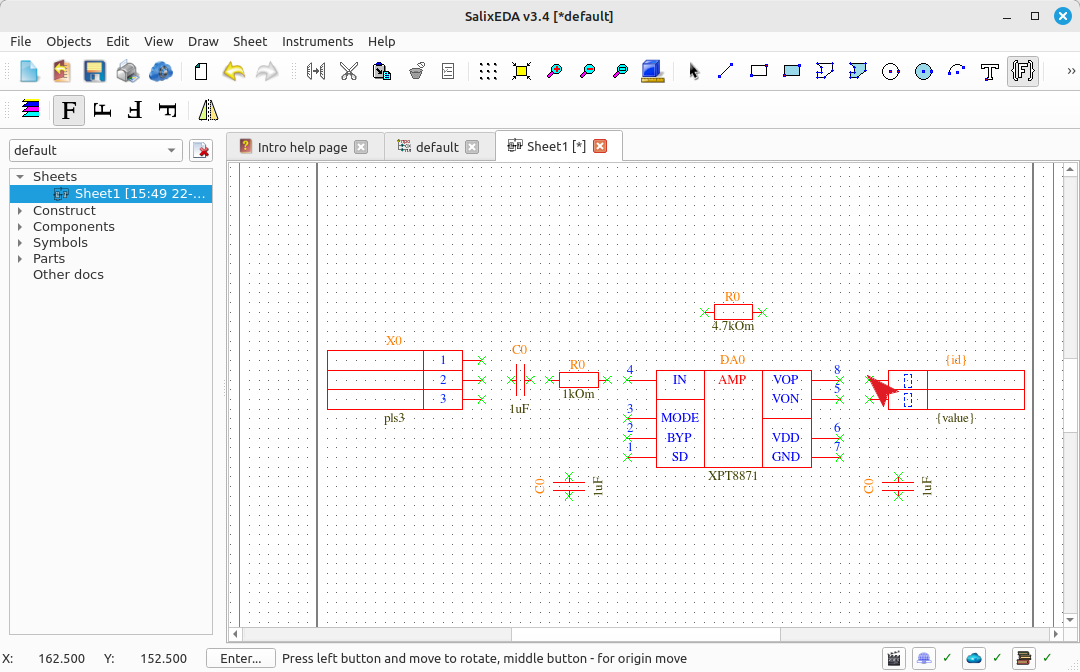
Specify the connector location on the schematic and press the left mouse button. Press the right mouse button to return to component search.
Searching for and inserting a capacitor
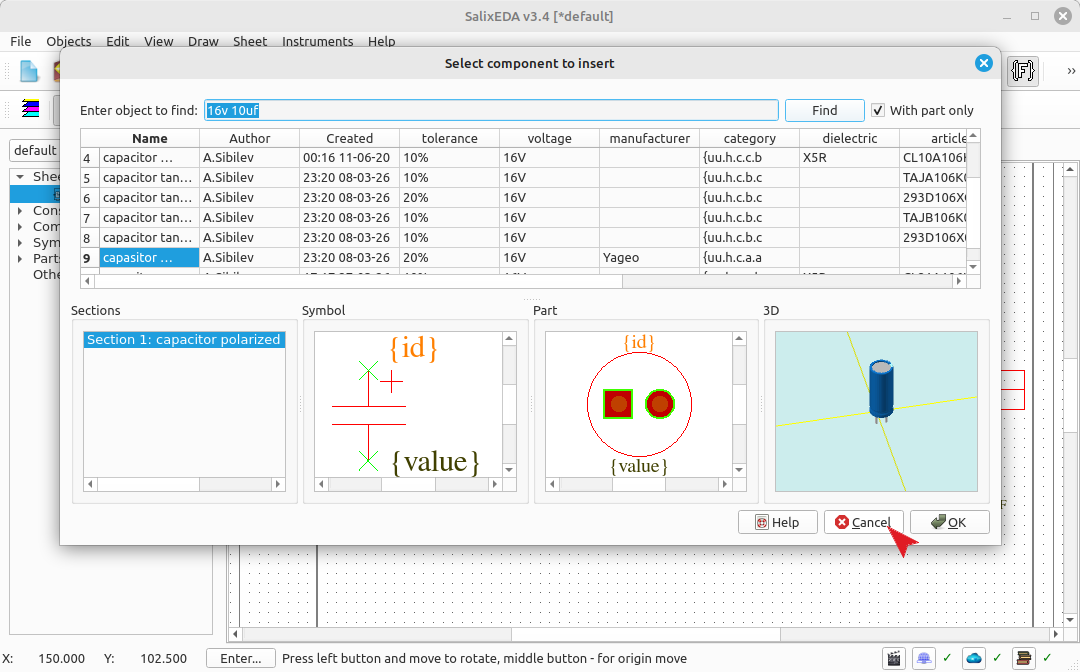
Enter "16v 10uf" in the search and click the Find button.
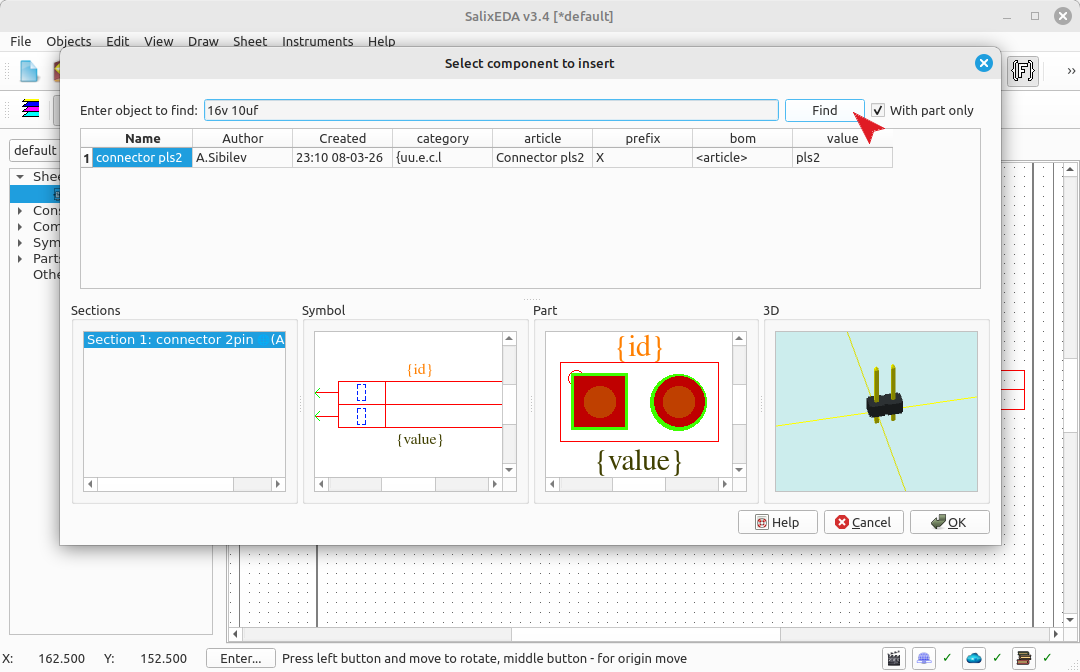
In the appearing list of suitable connectors, select connector capacitor leaded
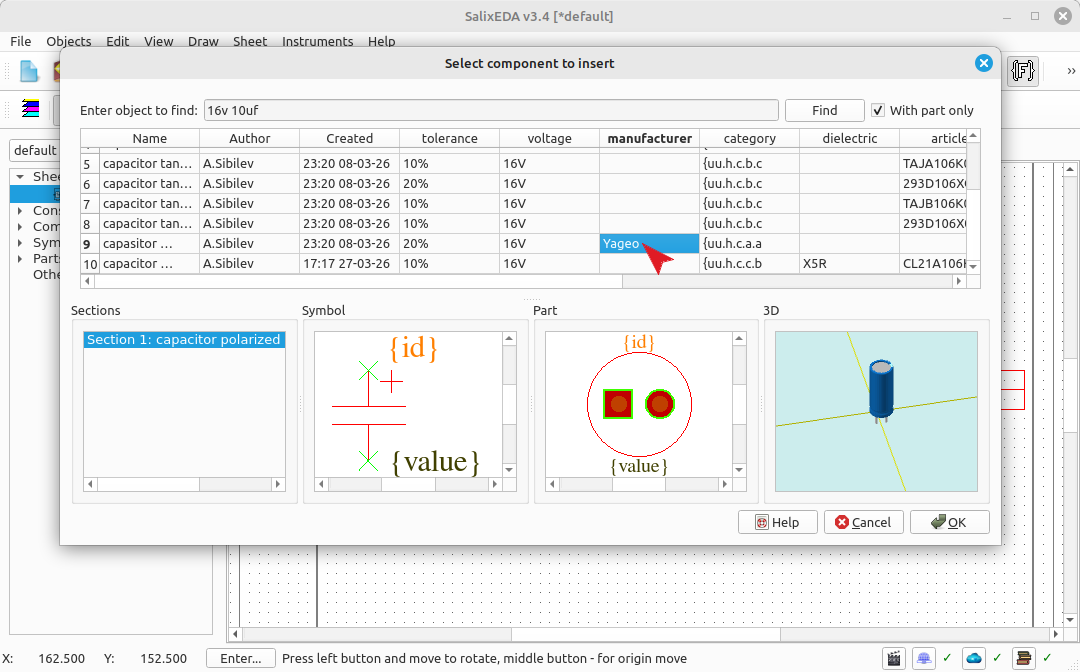
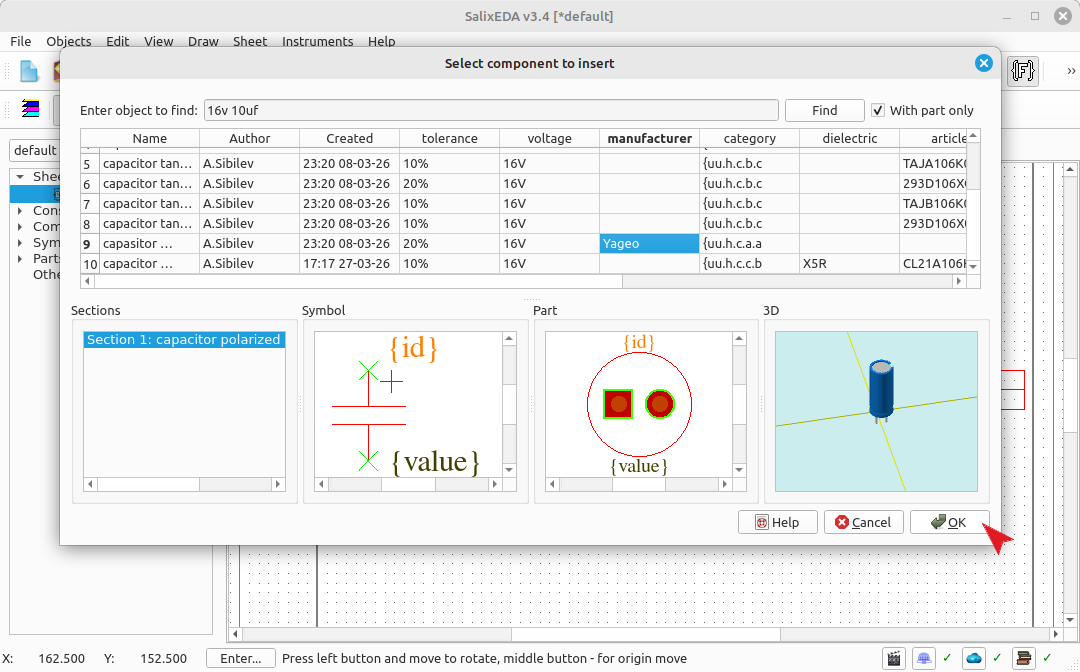
To insert the component into the schematic, click OK
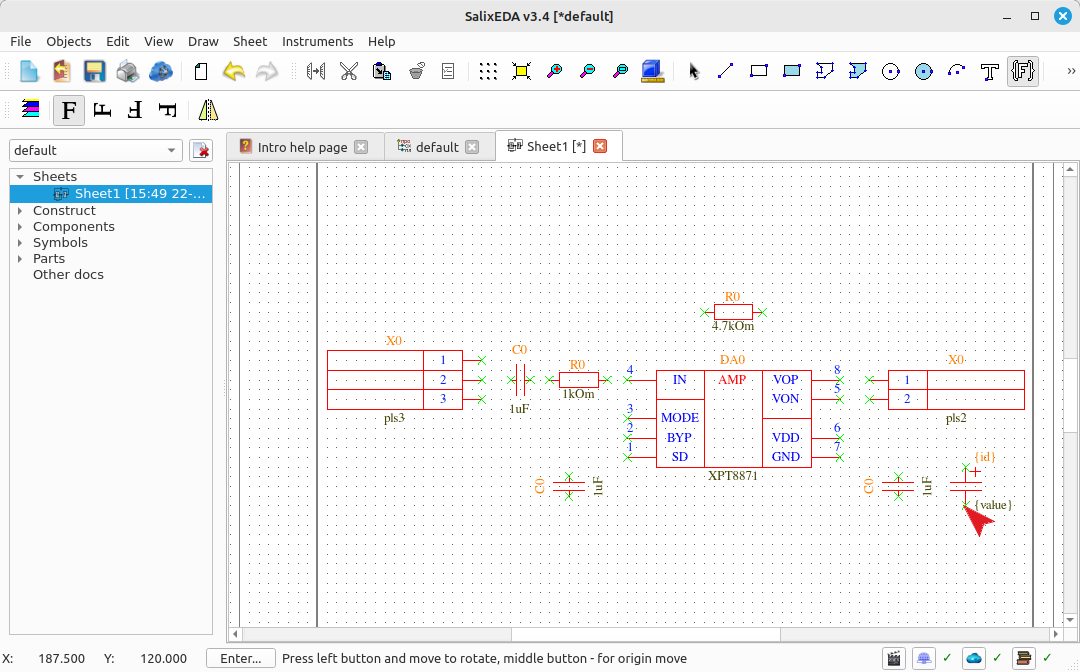
Place the capacitor on the schematic and press the left mouse button.
Exiting component insertion mode
To stop inserting components, press the right mouse button.
The component search dialog box appears. Click Cancel in it. This will exit component insertion mode.
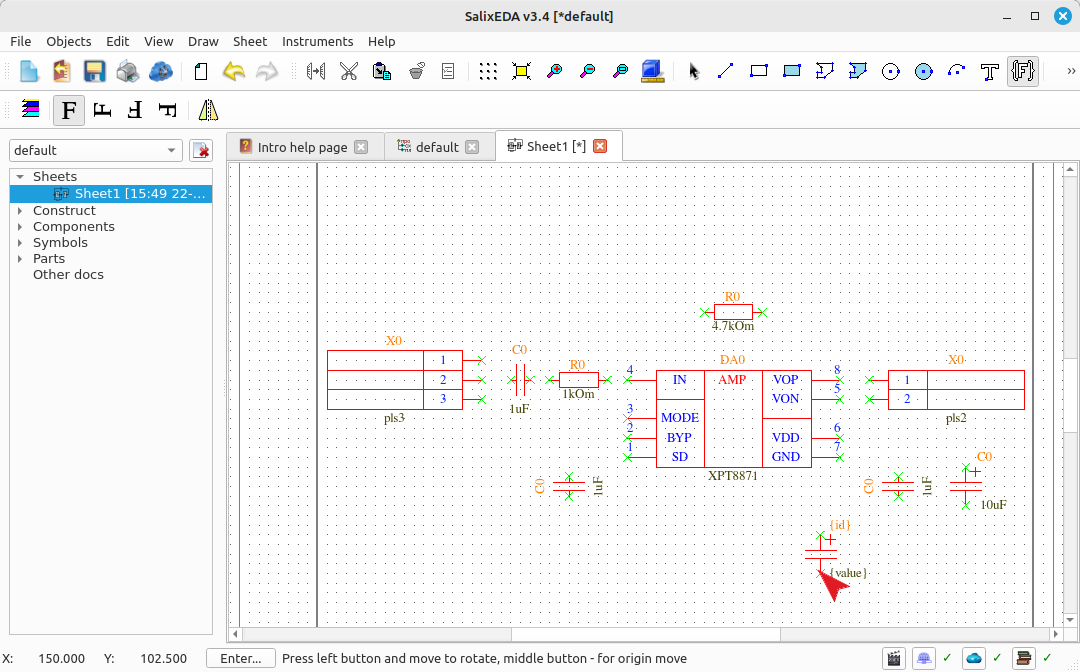
Result of component insertion
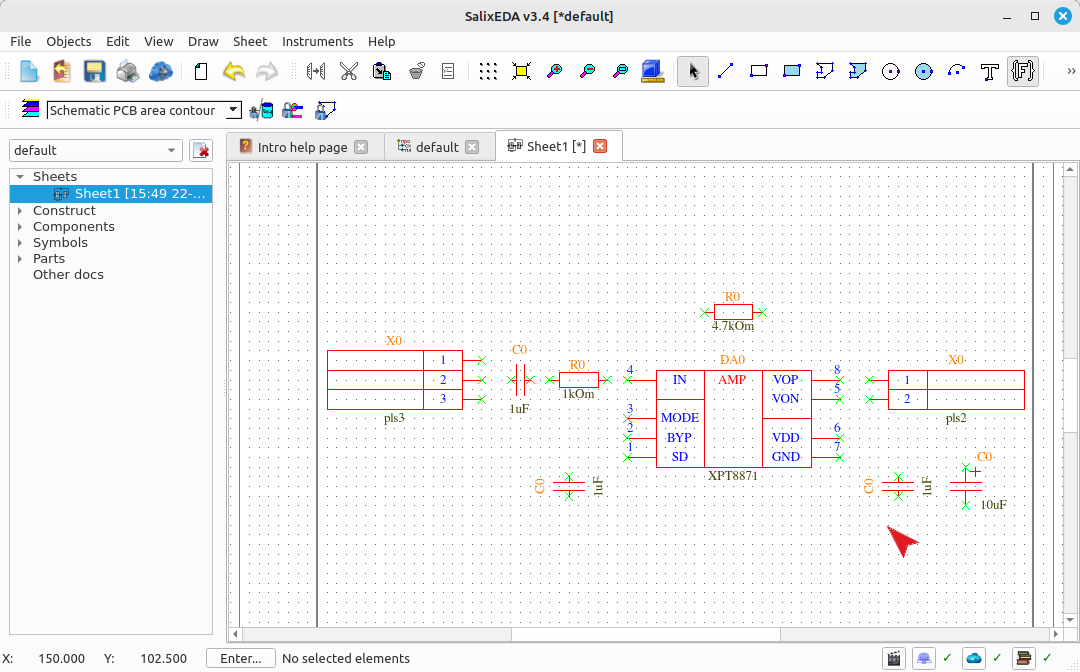
After inserting all components, the schematic should look similar to this.